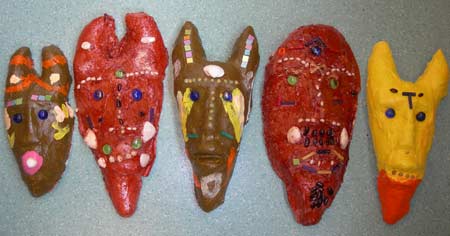


African masks made with plastered strips
|
|
|
|
|---|
|
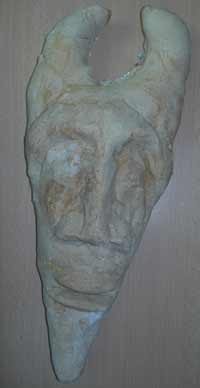
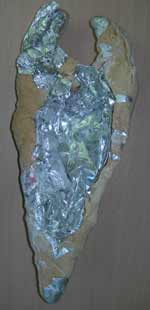
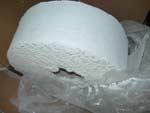
These masks are all made with the same technique. First step : make a mould with clay or with salt dough. Make a background out of newspaper or out of aluminium , give it the desired shape and spread salt dough or clay on it and let dry .It is necessary to wrap the mould well in a transparent film. (see model opposite) Second step: put wet
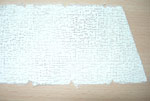
plastered strips into the mould (see below a roll of plastered
strips) by adjusting them to the shape of the mask. Let dry (
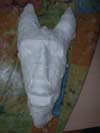
preferably on a heating). Unmould . You have a solid and light, white
mask. Third step :
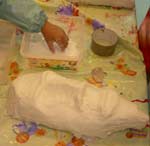
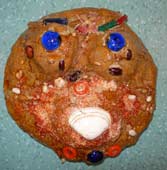
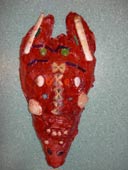
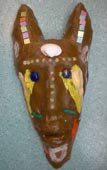
Decorate the mask .Paint it with acrylic paint or coat it with
colored repair paste for wood and inlay small
objects (pearls…). |
 |
 |
|||
 |
 |
 |
 |
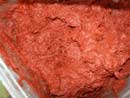
 repair paste for wood |
|
|
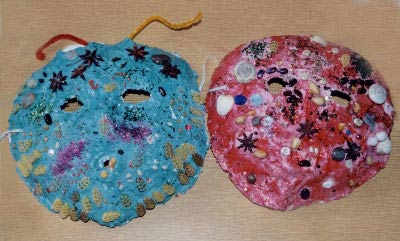
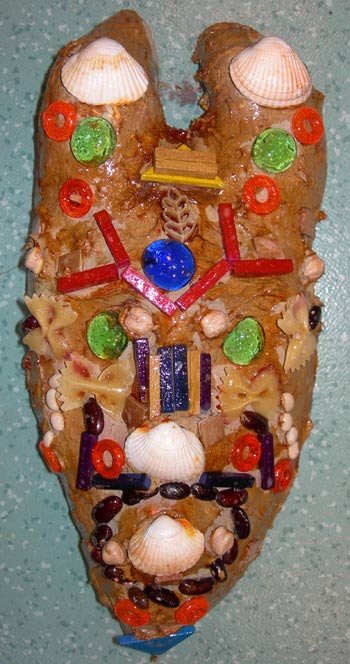
Take repair paste for wood and colour it with ink, and spread it on the undecorated mask (this colored paste can be kept several days in an hermetic box). Before the paste dries, inlay seeds, shells and elements of all kinds. It is useful to explain to the Children the concept of symmetry before making the masks if you prefer symmetrical decorations. Teach also the Children where to place seeds in order to emphasize the various elements of the face: eyebrows, edge of the nose, stops… Drawings masks before making them can also improve the results. |
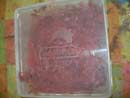
 colored repair paste for wood |
 |
|||
 |
 |
 |
 |
click below to see the masks enlarged 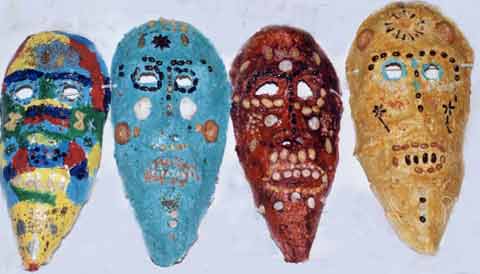 |
|
 home page |
 maths |
 reading |
 graphics |
 arts |
 topics |
 sports |